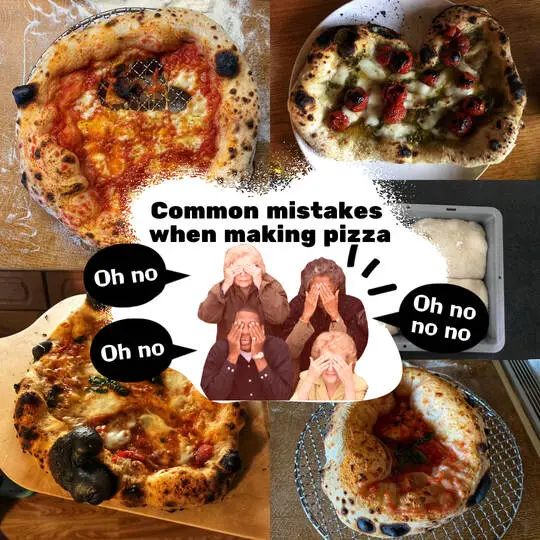
Just between ourselves, every now and then even inveterate Pizzaiolos make mistakes when baking pizza. Luckily, as you can learn from the mistakes of others, I have compiled mistakes that I have made in the past when making pizza in this post and I show you how you can do it better.
Hole in the pizza
What happened?
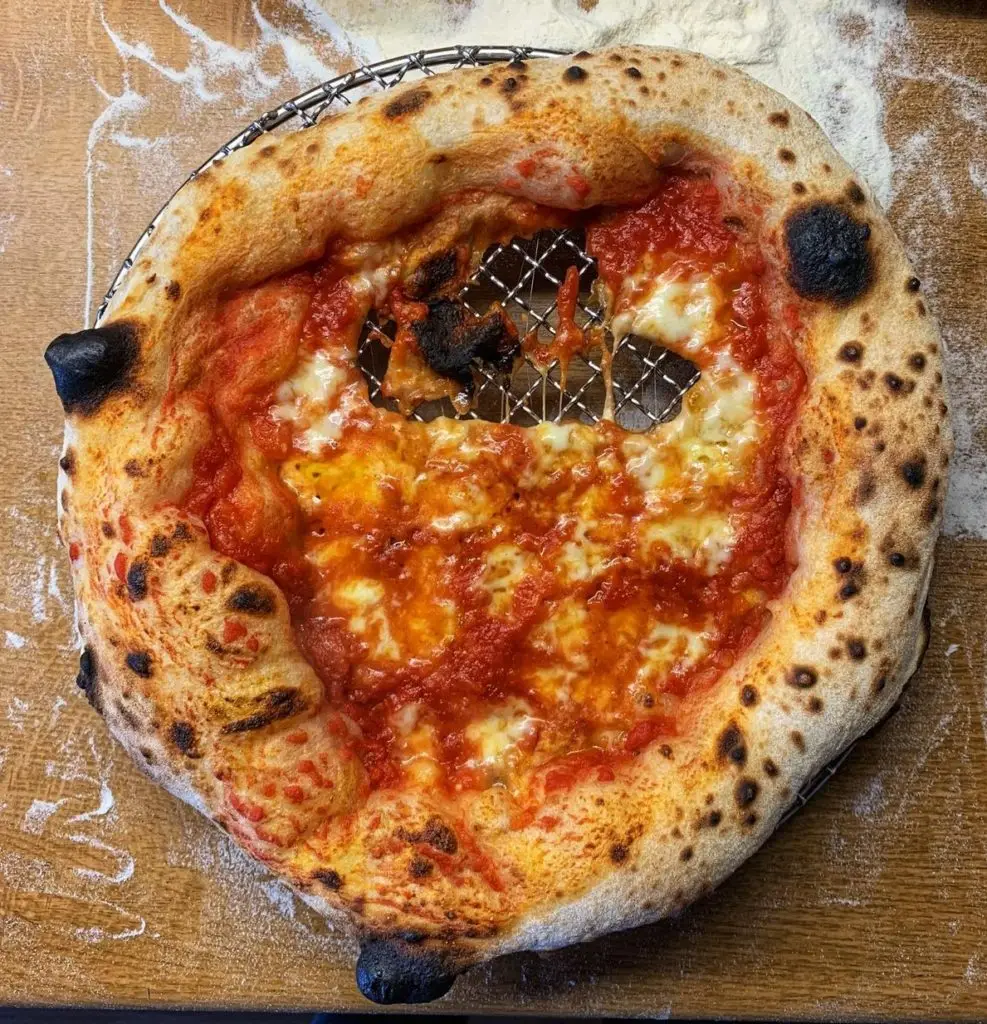
Already when shaping the pizza dough piece, the uneasy feeling creeps over you that the base of the pizza could be too thin in some places, although fortunately no hole has formed yet. In good hope, you put the pizza in the oven anyway. Then, while turning the pizza, it happens: the base is so thin in some places that the pizza is “slashed” by the pizza shovel. This leads to a small mess, as part of the topping runs onto the pizza stone and burns, and the pizza remains have to be hastily maneuvered out of the oven.
Why do holes in the pizza occur?
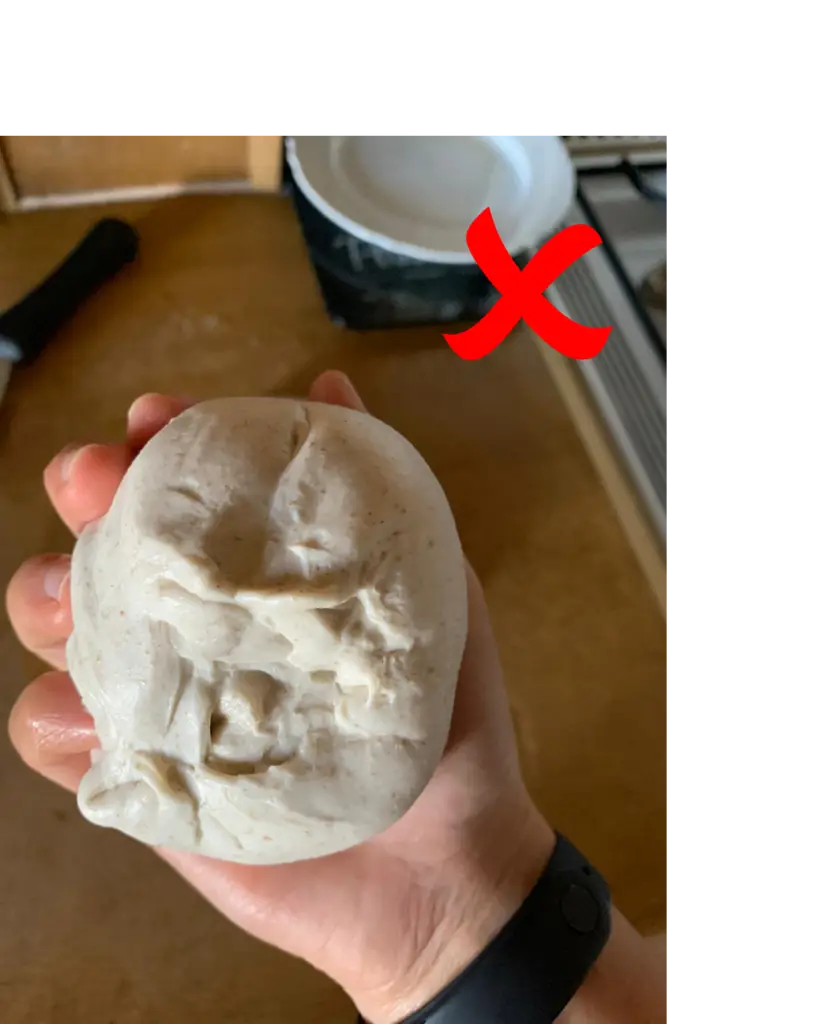
The dough ball was not formed properly or was not closed carefully enough. If the dough ball is not completely closed, openings remain. When the dough is shaped, these openings lead to uneven and thin areas that can easily tear.
How to avoid holes in the pizza?
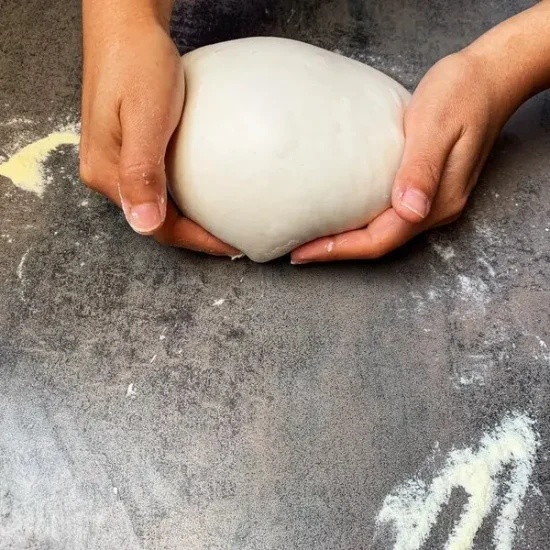
On the one hand, when shaping the dough ball, it is important to press out the base of the later pizza as evenly as possible. On the other hand, it is important to close the dough ball tightly at the bottom, e.g. by pressing the dough seam with the fingers or by smoothing it on the work surface. For a better illustration you can see the comparison from the lower side of the dough ball:

Burnt bubbles
What happened?
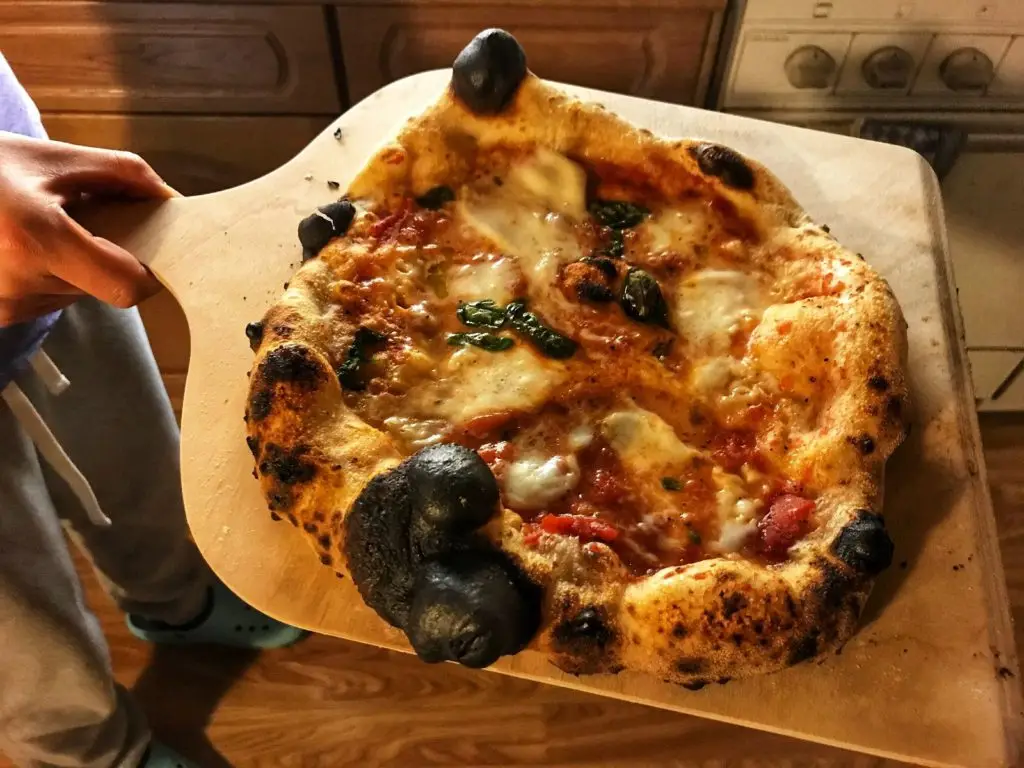
This phenomenon applies more to the Neapolitan pizza, because here you push the air in the dough towards the edge with your hand and the pizza is also baked at a high temperature (at least 400 degrees).
You shape your dough as usual and are pleased to see so many nice air bubbles formed in the dough. You leave them like that, top the dough patty and off it goes into the oven. When baking, you soon realize with horror that the bubbles rise extremely due to the heat and come very close to the heat source. The bubbles burn very quickly and turn black relatively quickly, which is why you quickly take the pizza out of the oven. In the worst case, some other parts of the pizzas could have baked a little longer because they are still too white or soft.
Why do the bubbles burn?
I think in this case not many words are needed: the bubbles are filled with air, which expand and become larger when heated, which is why the bubble surface can quickly burn and turn black.
How to avoid the burnt bubbles in the pizza?
Even if the bubbles look nice: if you see obvious air bubbles with thin skin on the edge when you’re shaping the pizza, pluck them away directly and let the air escape. It doesn’t pay to have nice looking air bubbles on the edge, if they’ll just burn during baking. The dough will rise evenly in other places and you’ll still have an airy pizza!
Dough stuck to the shovel
What happened?
You shape the pizza, top it and pull it onto the pizza shovel (wooden in my case). Next, you want to put the pizza in the oven. However, when you push it in, you notice that a corner of the dough patty sticks to the shovel. Now you have to bring this stubborn corner onto the pizza stone with a somewhat stronger shaking motion. You’ve luckily managed it, but it has warped the pizza and it is no longer nice and round.
Why does the dough get stuck to the shovel?
There may be several reasons why the dough sticks to the peel: The dough has high water content and you have used too little Semola or flour when shaping the pizza or maybe even too little Semola/flour distributed on the shovel. It can also happen that in the heat of the moment, a drop of liquid (e.g. water or tomato sauce) or oil has gotten onto the shovel unnoticed, which impairs the gliding properties of the dough.
How to ensure the dough doesn’t get stuck?
After you have pulled the pizza onto the shovel and are about to put it into the oven, you should check the glide of the dough patty again: move the dough patty forward and backward on the shovel with a slight jerk. If this works without any problems, put it in the oven. If, however, it does not move without problems, it is best to help it again with a little semola or flour in the affected area and then test the glide again with moving it around.
Melted dough balls
What happened?
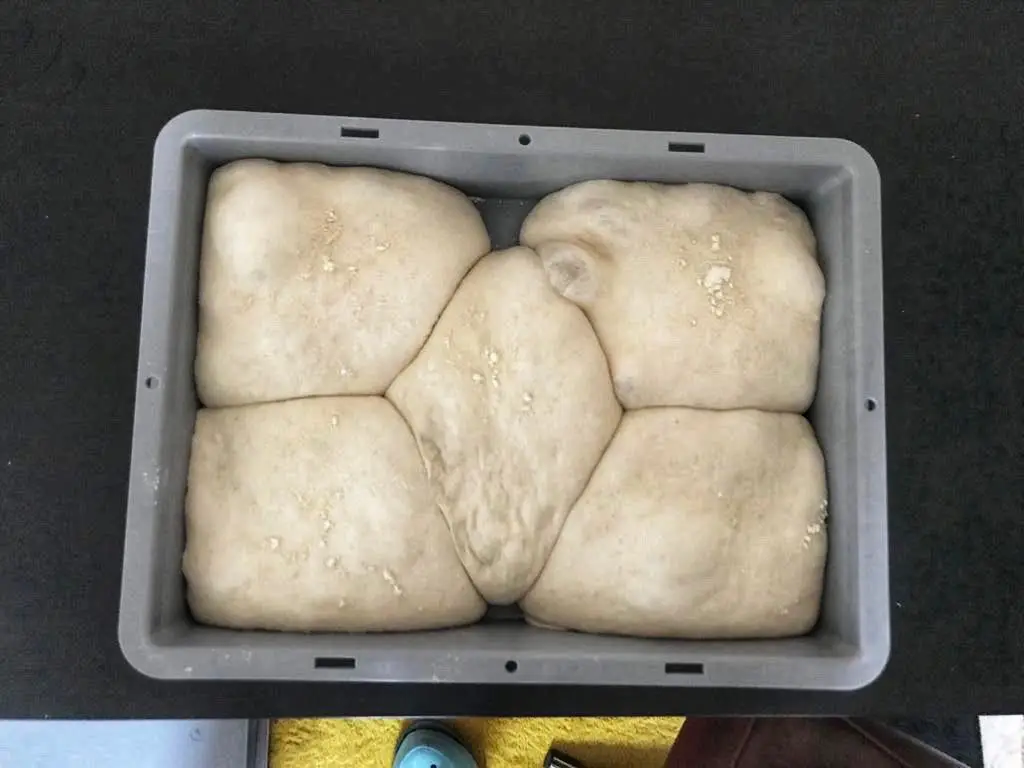
It is summer. It’s 25 degrees room temperature or even more. You have your standard recipe that you execute as usual. You prepare the dough, portion out the balls of dough, and let them rise at room temperature for six hours as usual. After the six hours, you are horrified to discover that the dough balls have melted like ice cream in the pizza ball box and are merging into the other dough balls.
So you have to save what can be saved: with a lot of effort and flour, you use the spatula to maneuver the soft, warm patties out of the box and try to form halfway round pizzas. When shaping, however, you also have to be extremely careful, because the dough is very easy to overcoat due to its overproofing, so it becomes unintentionally long and misshapen. In some places it can become very thin and in the worst case it tears when pulling on the shovel or when turning in the oven – in the very worst case it leaves a giant mess in and around the oven (the additional stress sweat on the forehead I probably do not need to mention at this point).
Why do dough balls melt?
High temperatures lead to increased activity of the yeast. The optimal growth temperature for the yeast is 28 to 35 degrees. High temperatures can therefore lead to overproofing of the dough, which then results in more unstable structures and the dough pieces lose their beautiful round shape.
How can you avoid melted dough balls?
Adapt the dough to the conditions, such as the seasons, but also the outside and room temperature. If, for example, the room temperature easily reaches 25 degrees, as it does in summer, it might be more advisable to switch to a dough recipe with cold guidance. In terms of proofing, depending on the recipe, it could mean letting the portioned dough rise in the refrigerator and taking it out for about 1 hour before baking, or not letting the dough rise too long at room temperature (e.g., four hours instead of six), but of course your own experience also plays an important role here.
Dough cannot be pulled

What happened?
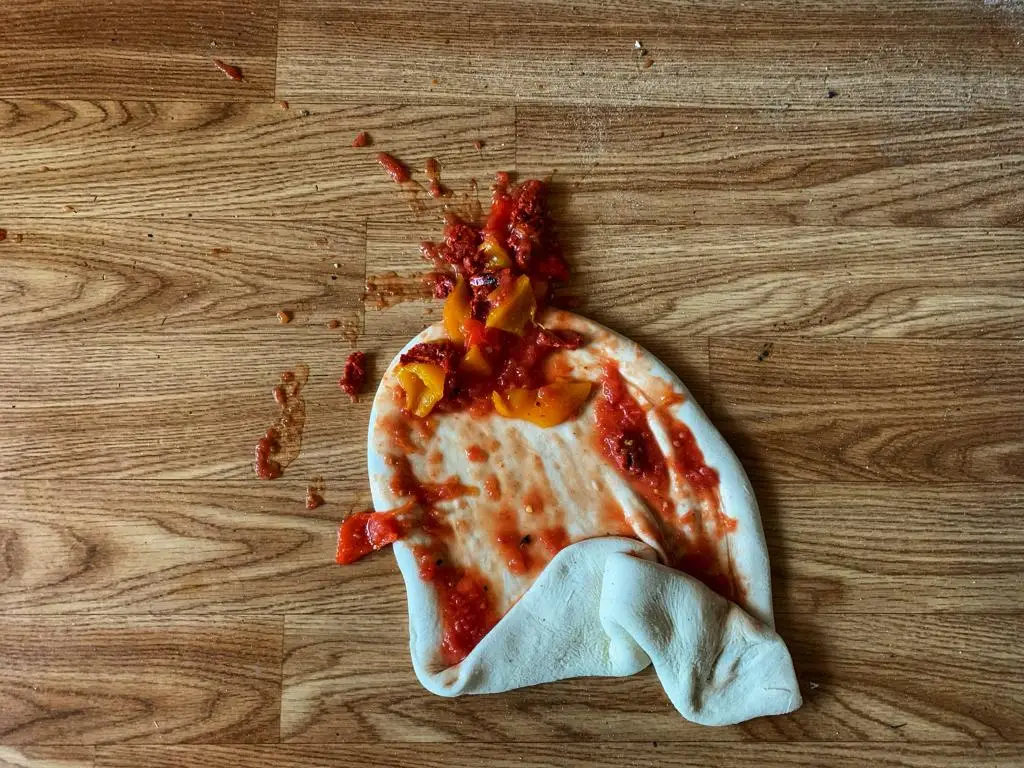
You have prepared a pizza dough, have nicely formed the dough pieces and are looking forward to finally baking pizza. However, when shaping the pizza, you notice that the dough is rather unruly and difficult to pull out. You press, press and press but the dough keeps pulling together. But you want to bake pizza now and not 2 hours later and therefore bake the pizza anyway. The result is a monster inflatable pizza that could have come from another planet, as you can see in the picture.
What’s causing it?
This case could be seen as the opposite of the previous error: at lower temperatures the activity of the yeast is slowed down and also the dough needs more time to assume the appropriate temperature. This, in turn, is important so that the dough structure can relax and be pulled out optimally. By suitable temperature I do not mean a fixed value, because this can vary depending on the dough; for example, doughs with high water content (> 65%) should be stored cooler than those with lower water content (<65%).
How to avoid this situation?
Again, similar to the previous mistake: adapt the dough to the conditions such as seasons, but also outside and room temperature. If the temperatures outside are rather winter-like and the room temperature therefore drops to 17 or 18 degrees, especially in unheated rooms, it is more advisable to give the dough pieces 1 – 2 hours more time than specified in the recipe so that they reach the optimum temperature. It may also be helpful to let the dough pieces rest in a warmer place, such as a heated room. Again, your own experience is essential to find out for yourself the best conditions for a suitable dough.
Bonus
Finally, I have a very important tip for you: Be concentrated when baking pizza! Seriously, otherwise you might find your dough lying on the floor, as happened to me (see picture). Don’t ask me how I managed to do that… Jokes aside, when you pull the dough on the pizza slider, make sure that the slider is stable on the surface.
Even if it hurts sometimes: Mistakes belong to life and therefore also to pizza baking. The important thing is that you learn from them! In this sense, I wish you happy pizza baking!
Discover more
You’d like to start making pizza right away, but you’re wondering where to start? We have summarized the most important information on the following page for you.
Thanks for reading! I hope this post about common mistakes when making pizza was valuable to you. If you have any unanswered questions, feel free to let me know in the comments. I’d appreciate it if you could share this article with your friends.
Julia