For this recipe, a total of 48 hours of dough rest is provided. So if you want to eat Neapolitan pizza, for example, Saturday evening, you should already start Thursday evening with the dough making.
What is autolyse?
For the autolyse dough, only flour and water are mixed together, without yeast and salt.
During the autolyse, the starch and protein swell with the water and the gluten protein can develop a stable gluten structure. As a result, the dough has to be kneaded for a shorter time. The shorter kneading time reduces the oxidation of the colorants contained in the flour, which has a positive effect on the color, taste and texture of the dough.
Ingredients
(for approx. 6 dough balls of 250 gr each)
- 1000 gr flour (preferably a Tipo 00 flour with the highest possible protein content (>12 gr))
- 650 gr water (important: cold, e.g. chill a water bottle in the fridge a few hours before)
- 1 gr fresh yeast
- 30 gr fine salt
Mixing the dough
For kneading the dough I use my Grilleta IM 5S. Of course, you can also knead the dough with other kneading machines or by hand, the latter only takes a little more time.
- Put the flour in the bowl of the kneading machine and start the machine on slow speed (speed 1).
Slowly add 620 gr of water (~95%) to the flour within 1.5 minutes. The total kneading time in this step is 5 – 6 minutes. - Now follows the autolyse: put the dough in the bowl and cover it (alternatively in a sealable box) and put it in the fridge for 1-2 hours. During this resting period, a beautiful gluten structure will develop all by itself. The gluten is necessary for creating an airy pizza.
- Dissolve the yeast in the remaining 30 gr of water.
- Start the kneading machine on slow speed (step 1).
- Pour the yeast water in small portions into the dough within 1 minute.
- Then slowly add the salt.
- The total kneading time is 10 – 15 minutes.
- Transfer the dough from the bowl to the work surface and shape it into a round ball with a smooth surface (you can see how in this video). This is important to keep the air “trapped” in the dough and make the pizza dough airy.
- Place the dough ball in a sealable container.
Resting the dough
- Let the dough rest for 12 hours at room temperature.
- Then place the dough in the fridge for 30 hours.
- After that step, divide the dough into six portions. Depending on your preference, one portion should weigh 250 to 270 grams.
- Shape each portion into a round ball with a smooth surface (you can see how in this video).
- Put the dough balls in a sealable container and let it rise for 6-7 hours at room temperature.
Shaping and topping the pizza
- Prepare a bowl or deep plate with semola (flour will work as well).
- Sprinkle the dough with a little semola (especially on the edges) and take it out of the dough ball box* with a spatula*, put it in the bowl/plate with semola and turn it over.
- Then place the dough ball on the work surface and shape it by hand: if possible, starting from the center, press the air bubbles towards the edge and shape it into a round pizza, leaving a rim. Do not use a rolling pin, as this will destroy the air bubbles.
- Top the pizza.
Baking the pizza
In the pizza oven
- Preheat the pizza oven to 400 degrees at least one hour before baking.
- Carefully pull the pizza onto the pizza peel*. Pull the pizza into a round shape on the peel if necessary.
- Place the pizza in the oven and bake it for about 90 seconds (a little shorter or longer, depending on your own preference and degree of browning).
In the household oven
This recipe for Neapolitan pizza can be also made in your household oven, of course. You should just be aware that the pizza will not taste and look 100% like a Neapolitan pizza made in a 485 degree wood-fired oven. But you can at least come close and make a still very tasty pizza!
- Preheat the oven at the maximum temperature at least one hour before baking. If you have a pizza stone* or a pizza steel* pre-heat either of them as well.
- Carefully pull the pizza onto the pizza peel*. Pull the pizza into a round shape on the peel if necessary.
- Place the pizza on the pizza stone and bake it for about 7 minutes (a little shorter or longer, depending on your own preference and degree of browning).
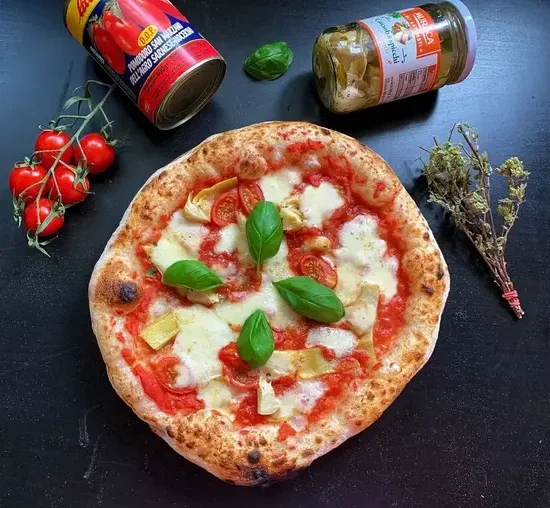
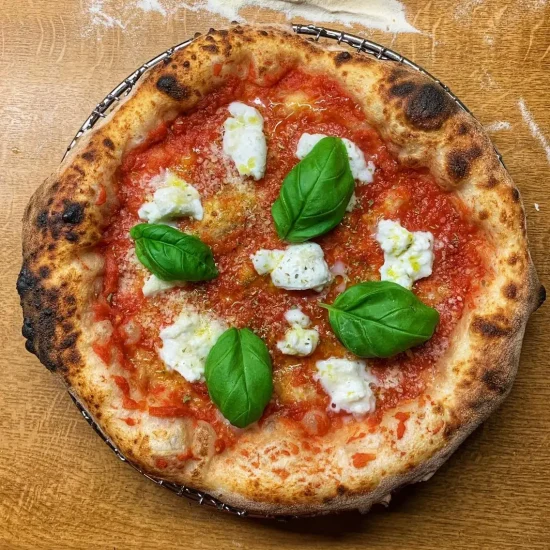
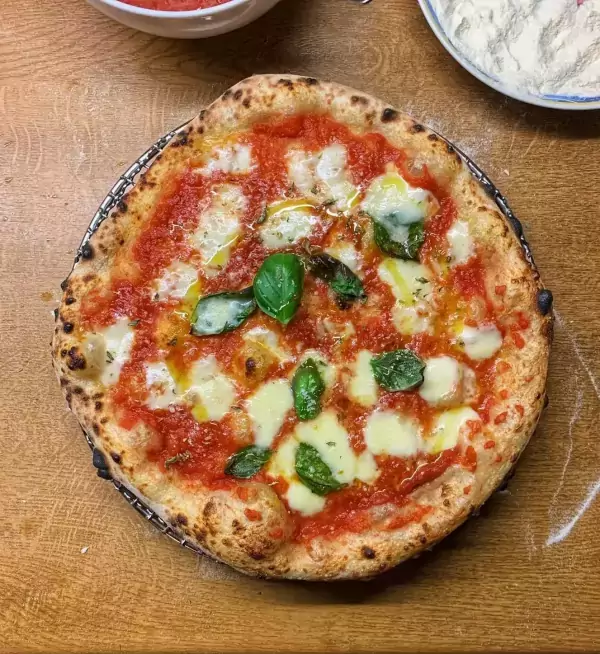
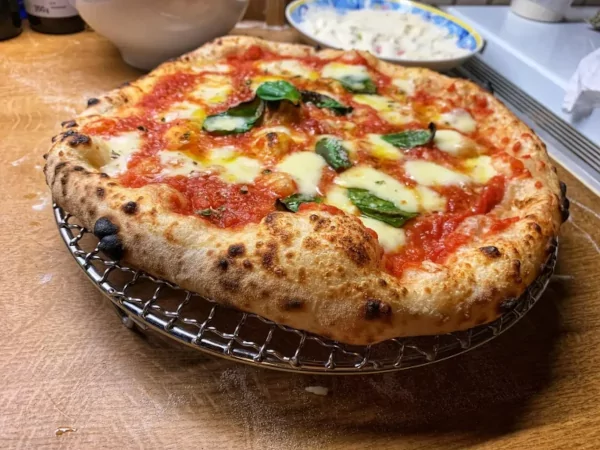
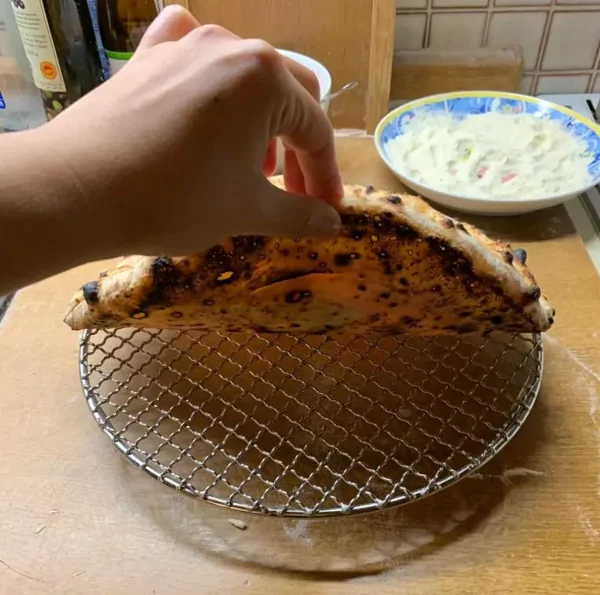
This is what the finished Neapolitan pizza with autolyse looks like
Discover more
You’d like to start making pizza right away, but you’re wondering where to start? We have summarized the most important information on the following page for you.
Thanks for reading! I hope this recipe for a Neapolitan pizza wiht autolyse dough was valuable to you. If you have any unanswered questions, feel free to let me know in the comments. I’d appreciate it if you could share this content with your friends.
Julia